Waterproofing is an essential process in construction and home maintenance that protects structures from water damage. This guide aims to provide beginners with a comprehensive step-by-step approach to waterproofing, ensuring that they can effectively safeguard their homes against moisture intrusion.
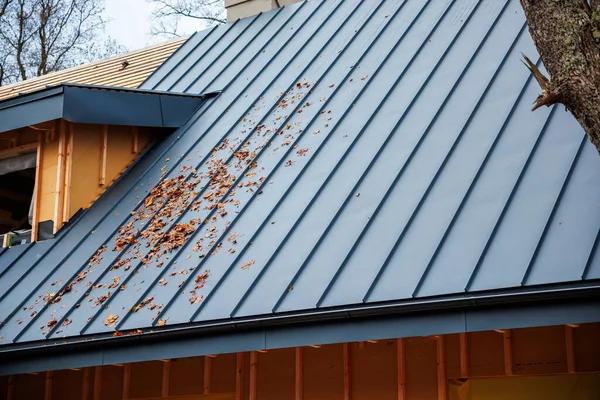
To begin the waterproofing process, it is crucial to identify the areas most susceptible to water infiltration. Common problem areas include basements, bathrooms, roofs, and exterior walls. Once these areas are identified, a thorough inspection should be conducted to assess the extent of any existing damage or potential vulnerabilities. Look for cracks, mold growth, peeling paint, or damp patches as indicators of water issues.
Henrico waterproofing
The next step involves selecting appropriate waterproofing materials. There are various options available depending on the area being treated and the level of protection required. For instance, liquid membranes are versatile and suitable for many surfaces; sheet membranes offer durability for larger projects; while cementitious coatings provide excellent adhesion for concrete surfaces. It is important to choose high-quality products designed specifically for your intended application.
Before applying any waterproofing material, surface preparation is crucial. Clean the area thoroughly by removing dirt, debris, grease, or old coatings that could hinder adhesion. Repair any visible cracks or holes using suitable patching compounds local crawl space encapsulation services or sealants. Ensuring a clean and smooth surface will enhance the effectiveness of the waterproofing layer.
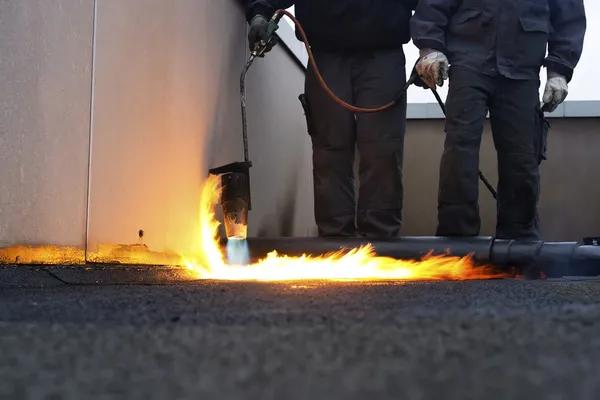
Once preparation is complete, apply your chosen waterproofing product according to manufacturer instructions. For liquid membranes and coatings like bitumen-based solutions or acrylics—often applied with brushes or rollers—ensure even coverage across all surfaces needing protection. Sheet membranes require careful alignment during installation; overlap seams appropriately following guidelines provided by manufacturers.
After application comes curing time—a critical phase allowing materials ample opportunity bond fully onto substrate beneath them before exposure elements such as rainwater pressure etcetera which might otherwise compromise integrity finish achieved thus far! Follow recommended drying times closely avoid premature contact moisture sources until completely cured solidified state reached optimal performance longevity assured!
Regular maintenance forms integral part successful long-term strategy combating ingress harmful effects associated prolonged exposure wet conditions over extended periods: inspect periodically check signs wear tear deterioration address promptly prevent further complications arising down line potentially costly repairs replacements later date altogether avoided proactive measures taken early stages project life cycle management plan implemented accordingly schedule routine checks every few months basis minimum adjust frequency based environmental factors specific location climate considerations involved overall risk assessment carried out initially determine best course action tailored individual needs circumstances encountered particular site context presented unique challenges opportunities alike!
In conclusion undertaking DIY beginner-friendly tasks outlined above empowers homeowners take control situations previously felt overwhelming daunting prospects transforming spaces into dry comfortable living environments conducive healthy happy lifestyles enjoyed everyone under roof alike!
Capps Crawlspace and Construction
1953 River Rd Unit C, Henrico, NC 27842
252-308-2231